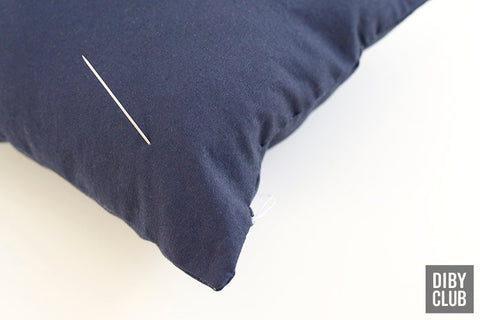
How to Sew A Perfect Ladder Stitch
, by Holly Hetzner, 4 min reading time

, by Holly Hetzner, 4 min reading time
A ladder stitch is the perfect hand stitch to use when closing the opening of a turned seam. A ladder stitch becomes invisible and will blend in with the rest of your sewn seams. Learn how to do it here!
Sewing a ladder stitch is easy and fun to do. There are times when hand sewing is necessary and I find hand sewing such a meditative practice that I’m glad my sewing machine isn’t capable of doing it for me.
When you have sewn two pieces of fabric with right sides together and have left an opening to turn it, you create a turned seam. Turning it leaves the seams concealed on the inside and a nice finish on the outside. The only thing left to do is sew up that opening. A ladder stitch is the perfect hand stitch to use when closing the opening of a turned seam. A ladder stitch becomes invisible and will blend in with the rest of your sewn seams.

A ladder stitch is named appropriately because you take each stitch directly across from the other creating stitches that look like rungs on a ladder. Here’s a diagram to show you what I mean.

First thing you’ll want to do is press the tucked in seam at your opening with the same amount of seam allowance as your sewn seam. This will create a crease that will act as a guide for where we take our stitches. Now you’ll also want a length of thread appropriate for the size of your opening. Thread a craft needle pulling your thread ends even so that your thread is doubled up and make a knot.

We’re going to hide the knot that we just made by taking the needle under the fold of our seam and coming out through the crease. This will conceal the knot inside.

You can pin your seam together at this point to insure that your two side are lined up evenly or you can pinch your seam together as you go along. Now on the opposite side, directly across from your first stitch, make a small stitch along the crease. Going in at #2 and out at #3 making sure to keep your stitches right at the peak of your fold. This will ensure that your seam will look very nice in the end.

Enter the crease of the fold at #4 and exit at #5. Now continue this pattern, pinching your fabric together to locate where you need to take your next stitch and take it directly across from the last one until you reach the end.

As you continue down your seam you’ll see that the stitches you took make a pattern like the rungs on a ladder. Pull your stitches tight as you move along the seam. Your stitches will disappear into the crease of your fold like magic!

When you get to the end pull on your thread one more time to make sure your stitches are tight. Don’t pull too hard though as your fabric will start to bunch up. Now take a tiny stitch of fabric on the opposite side of your last stitch.

Make a knot three times in the same place to ensure that it won’t come out.

Now send your needle down inside your project and out through the side. This will hide the tail of your thread so that your knot is less visible. Cut your thread and you’re all done!

Now let’s watch that satisfying moment when you pull your stitches tight. Enjoy!

-- Orignally written by Jessamin Jensen. Archived by Holly Hetzner.